


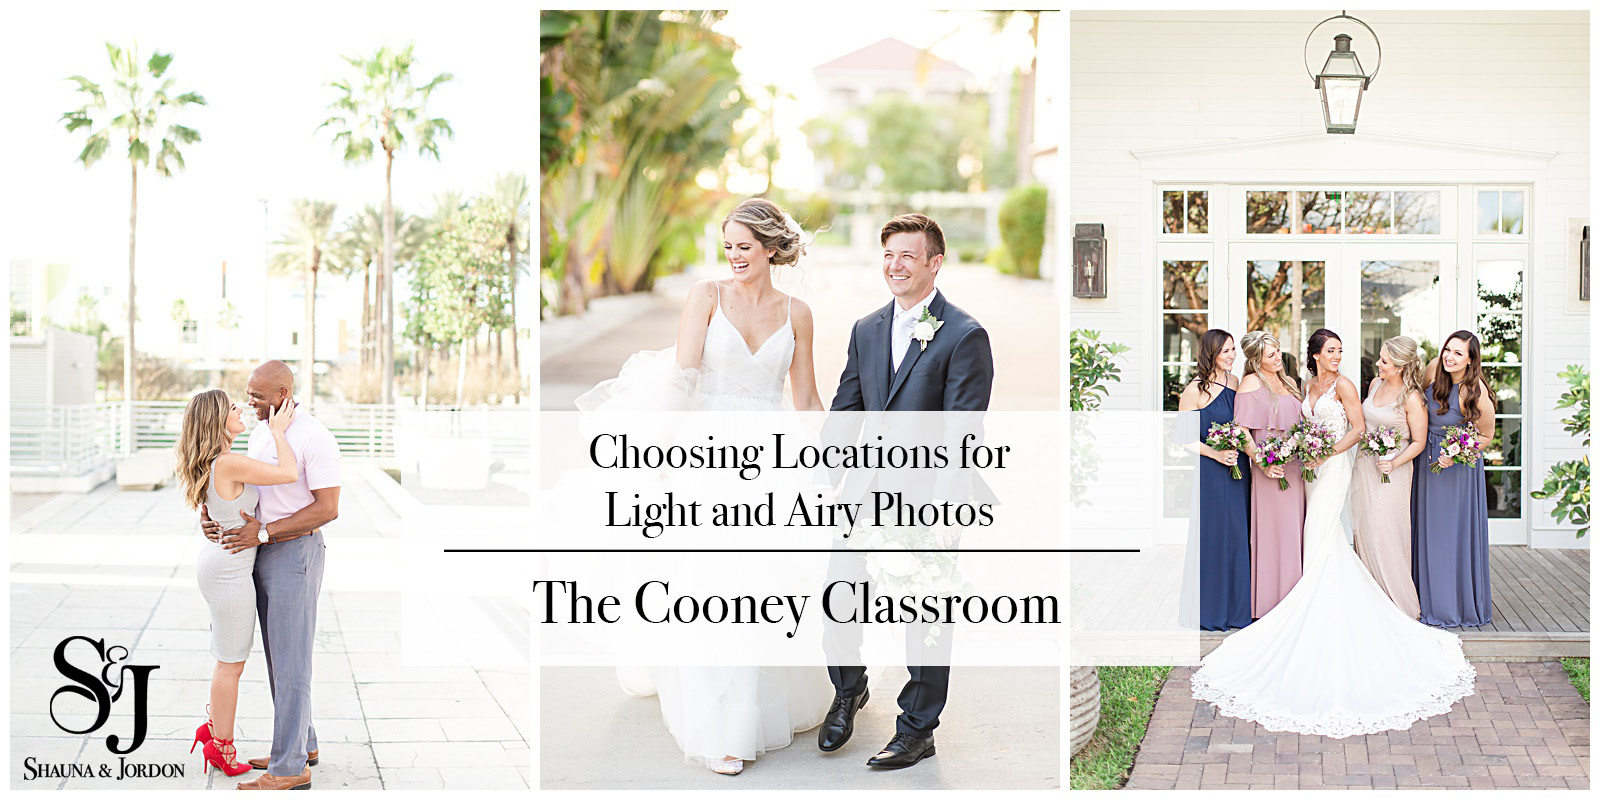
How to Photograph Light and Airy
Photographing light and airy is a common style. And soo often we get asked the same question over and over. The million dollar question, “How do you photograph light and airy?”
And though there are so many different reasons that we could give as an answer to that question- Aperture, lens choice, lighting decisions, post-processing decisions… there ultimately is one reason that we would give the most credit to for our bright and airy images…
Location Choice.
A little backstory for you. When we first started out as photographers, even though we knew exactly how to use our camera inside and out, we still lacked that big realization.
That in order to attain truly beautiful light and airy photos, we needed to focus first on finding great light, and then on strategically and intentionally choosing locations. Because the reality of it is… it doesn’t matter how much you brighten the photo- how much you overexpose it (which can be a huge mistake that many beginner photographers make), how much you lift the shadows, or how much you try to salvage the image in post-processing all around…. because…
You can’t fake location choice.
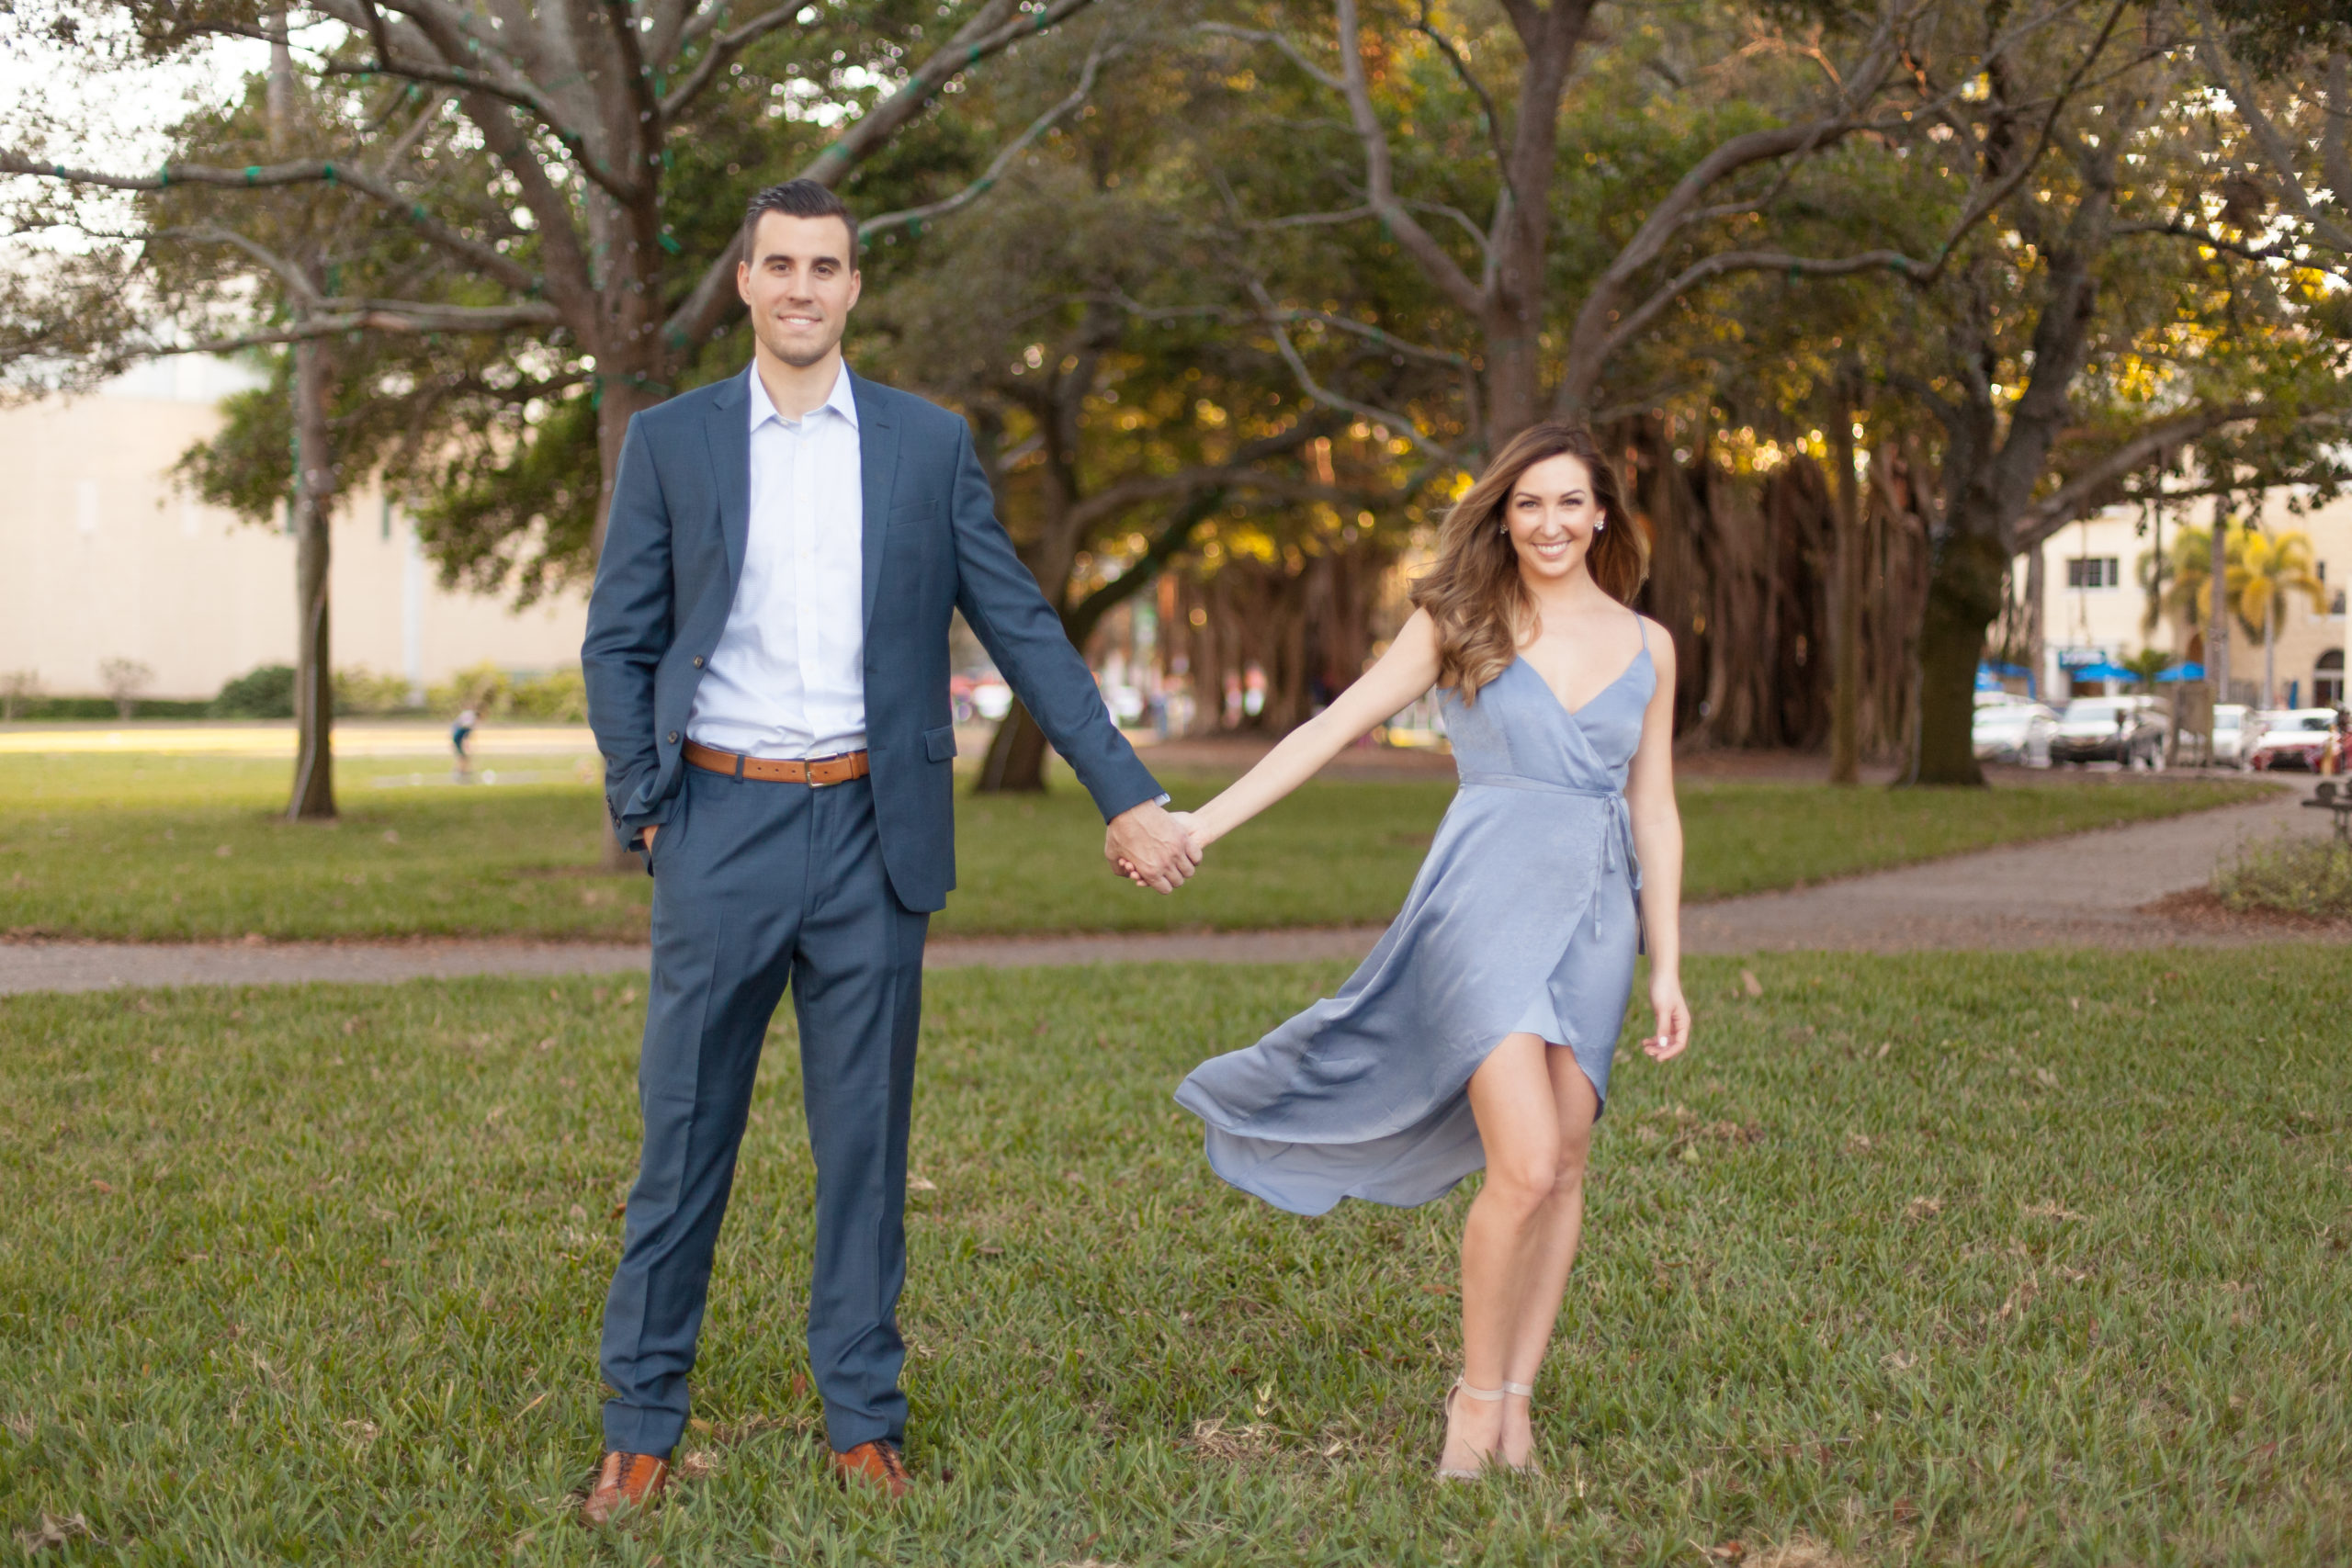
Think about it this way- look at this adorable image of Marisa and Casey from their surprise proposal (don’t they look adorable?!). Behind them are some beautiful banyan trees that we love, so we took some photos of them in this location with the brown trees behind them. Is it a beautiful picture? Of course! But here’s the thing… if they hired us knowing that we produce beautiful light and airy photos highlighting our subjects… this might not be an image that they were expecting to be delivered.
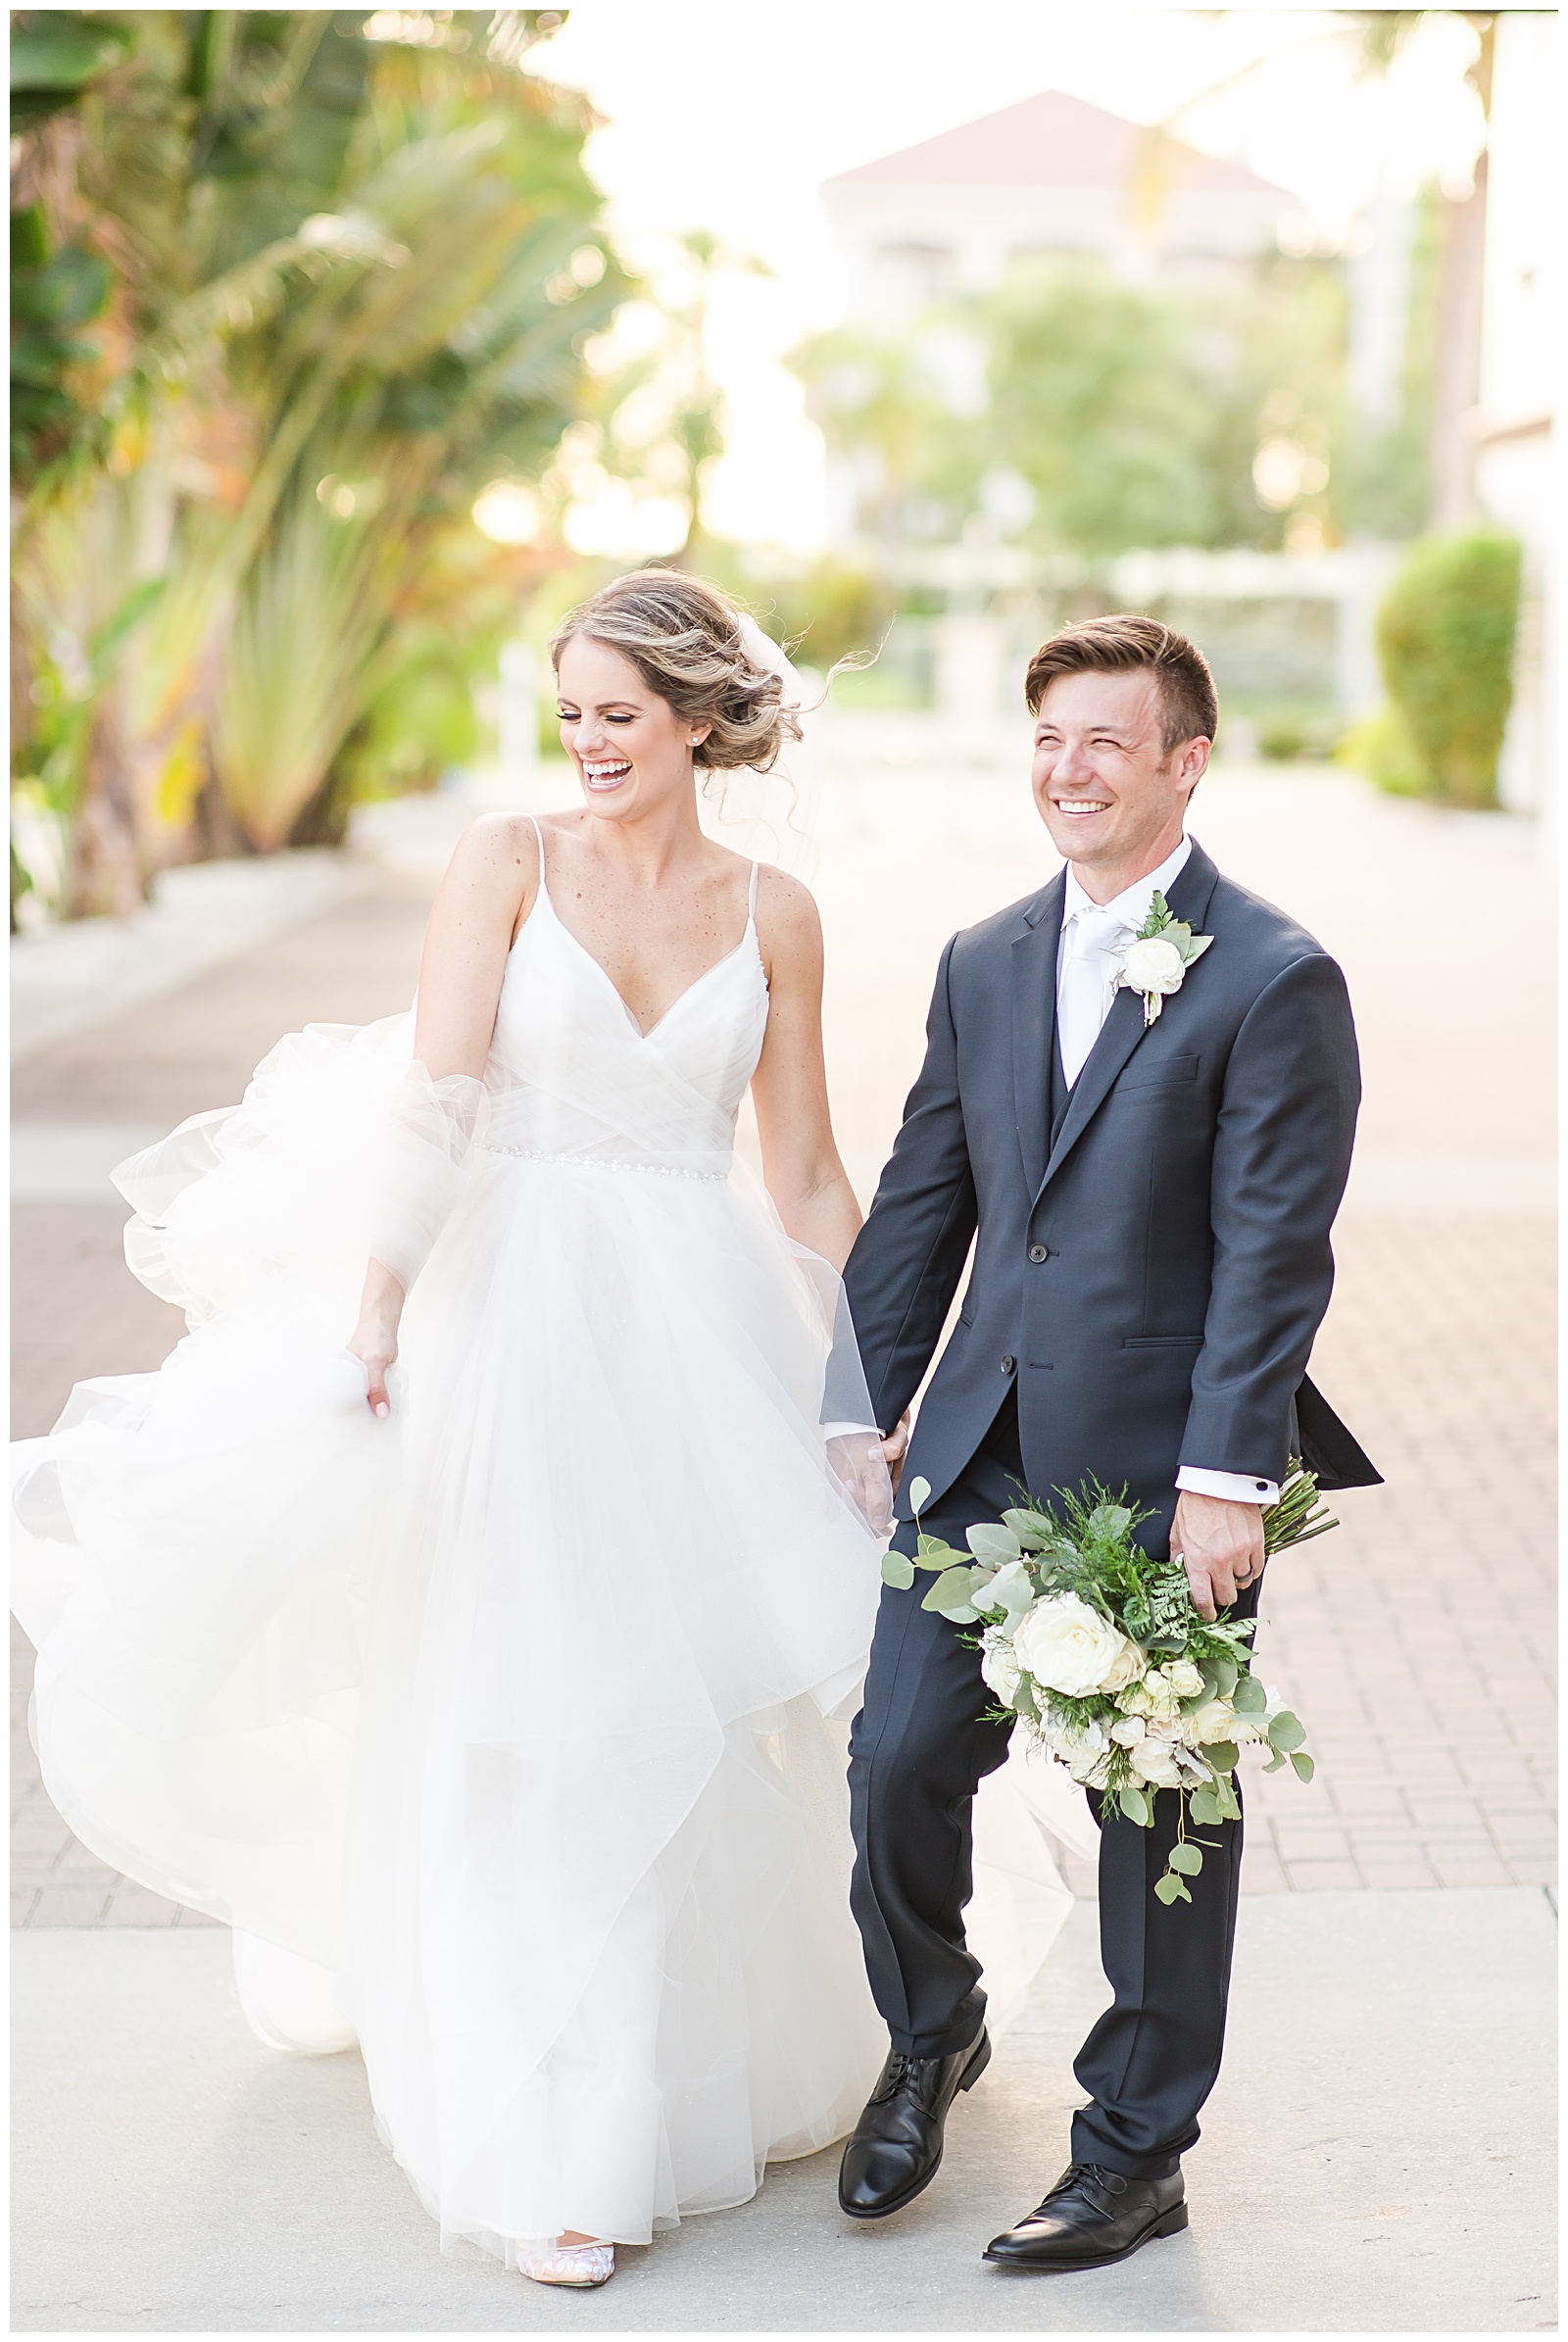
Now look at these photos of Marisa and Casey.
Same day. Same photographers.
Same editing. Different location.
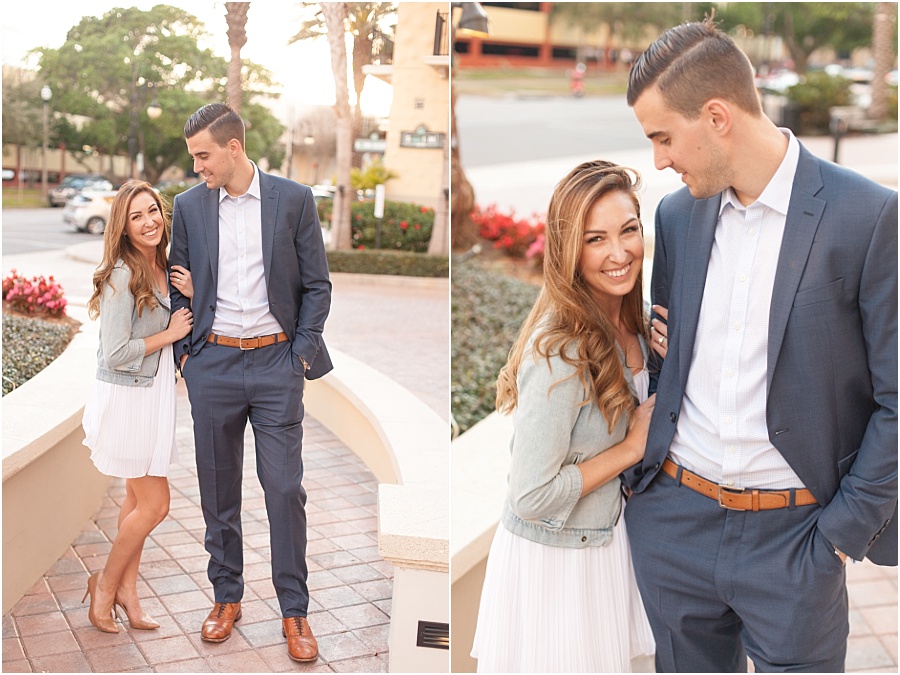
Notice how by making changes in our location choices we were able to completely change the overall aesthetic of the images?
(Full disclosure- we also want to mention that if a client wants images in front of the banyan trees- we will take that picture for them! Because at the end of the day, loving and serving our couples is our first priority! But after that, we will move them to a location that they would expect from us in our galleries, because why not? It is so easy to love and serve your clients well when you are putting them first. 😊)
So today, we are sharing with you two quick and easily applied tips for finding light and airy locations- because the truth is… it took us a while to learn this, but attaining light and airy images really is all about location location location.
Tip 1 for How to Photograph Light and Airy
Find Light Colored Backdrop
When you are standing in your session location. Look around. After you have assessed the areas for great lighting, look for where the backdrop looks the lightest in color.
Downtown? Find light colored buildings or alleyways (more on that in minute 😉).
Standing in a field of greens? Don’t worry. We got you. Being Florida natives, we learned really quickly that there are good greens and bad greens. The good news? The rule of finding the lightest location applies easily to greens as well.
The best way to learn which are good greens and which and bad greens where you live? Start by looking around. Find the greens that look the lightest in color, and take some test shots!
After a little bit of practice, you will quickly learn what greens will give you a lighter feel than others.
But when shooting in areas filled with greens, we have a few extra bonus tips for you.
- Pull your subject far away from the greens. Let your aperture and bokeh help create lighter creamier images for you.
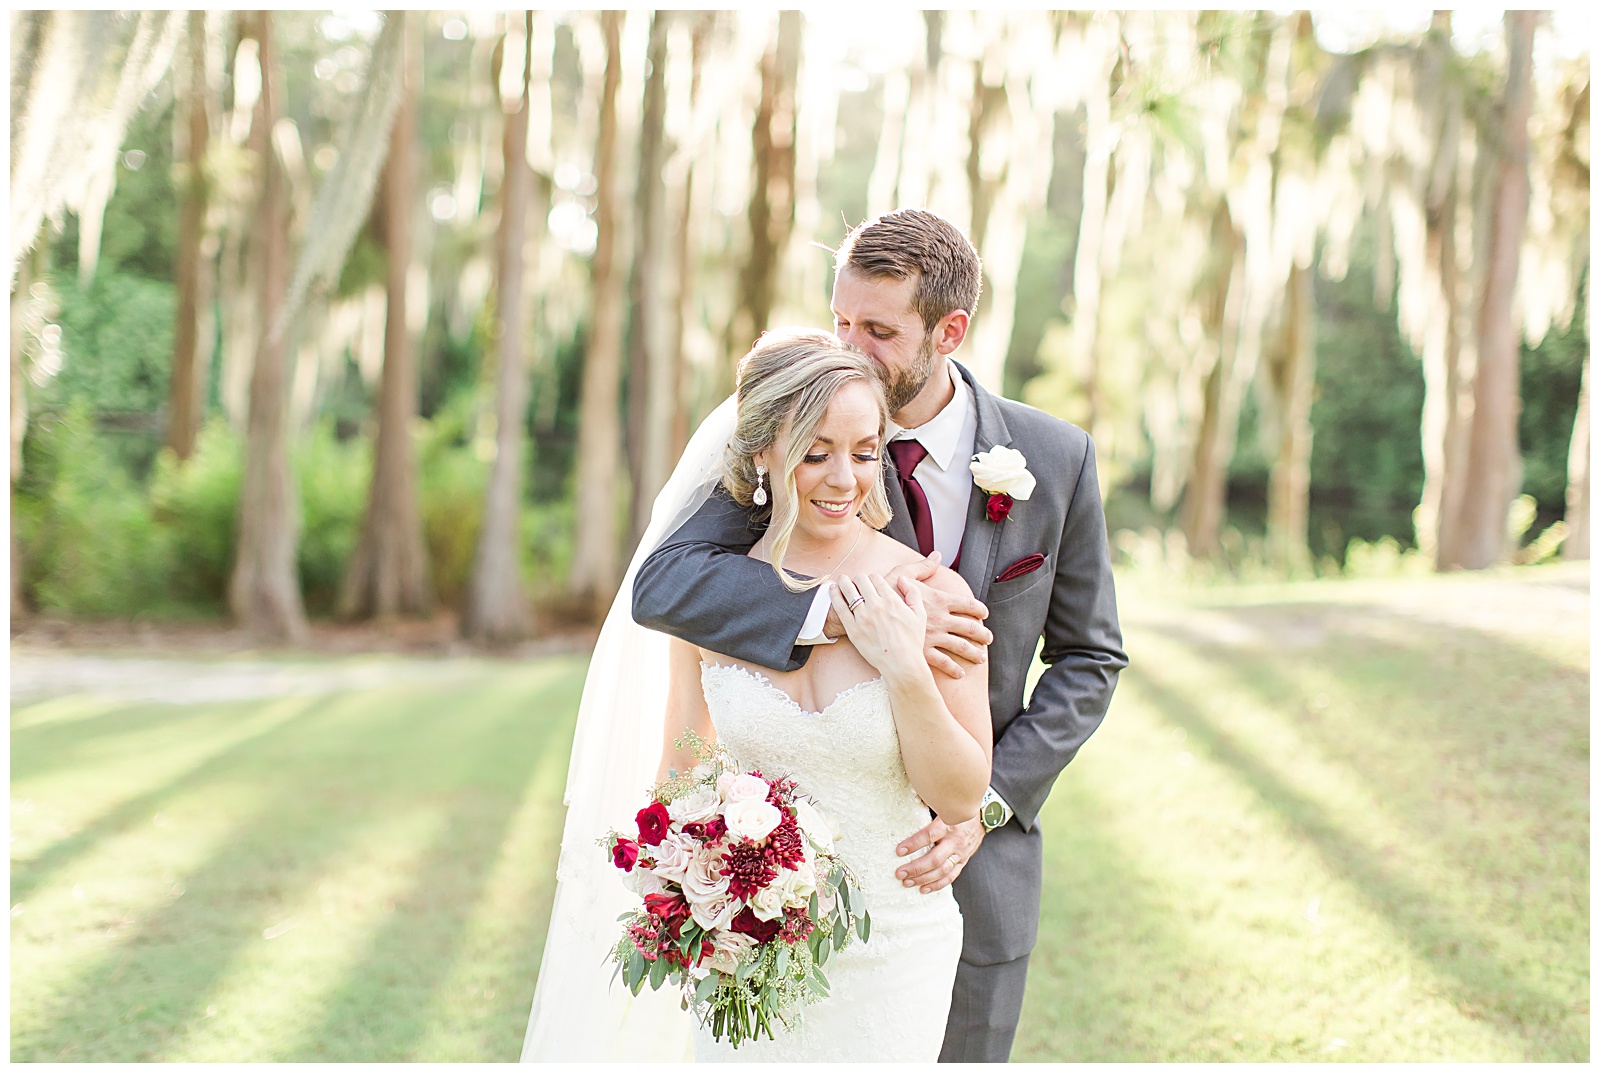
- Look for an area where light is seeping into the greens. The sun will help you to create a nice and bright backdrop- even despite those pesky green trees.
A perfect example? This image from Allison and Travis’s wedding day. 🙌🏻
Tip 2 for How to Photograph Light and Airy
Shoot Down vs Into
When in doubt, shoot down instead of into.
What we mean here is this- instead of having your client’s back to a wall, when a location allows for it, have them turn so that they back is facing down the alley.
This was a mistake that we made a lot early on. We would find a nice light colored wall, and we clung to that. And don’t get us wrong- we love a good ole white wall. (Case in point- Jessica and her bridal party below).
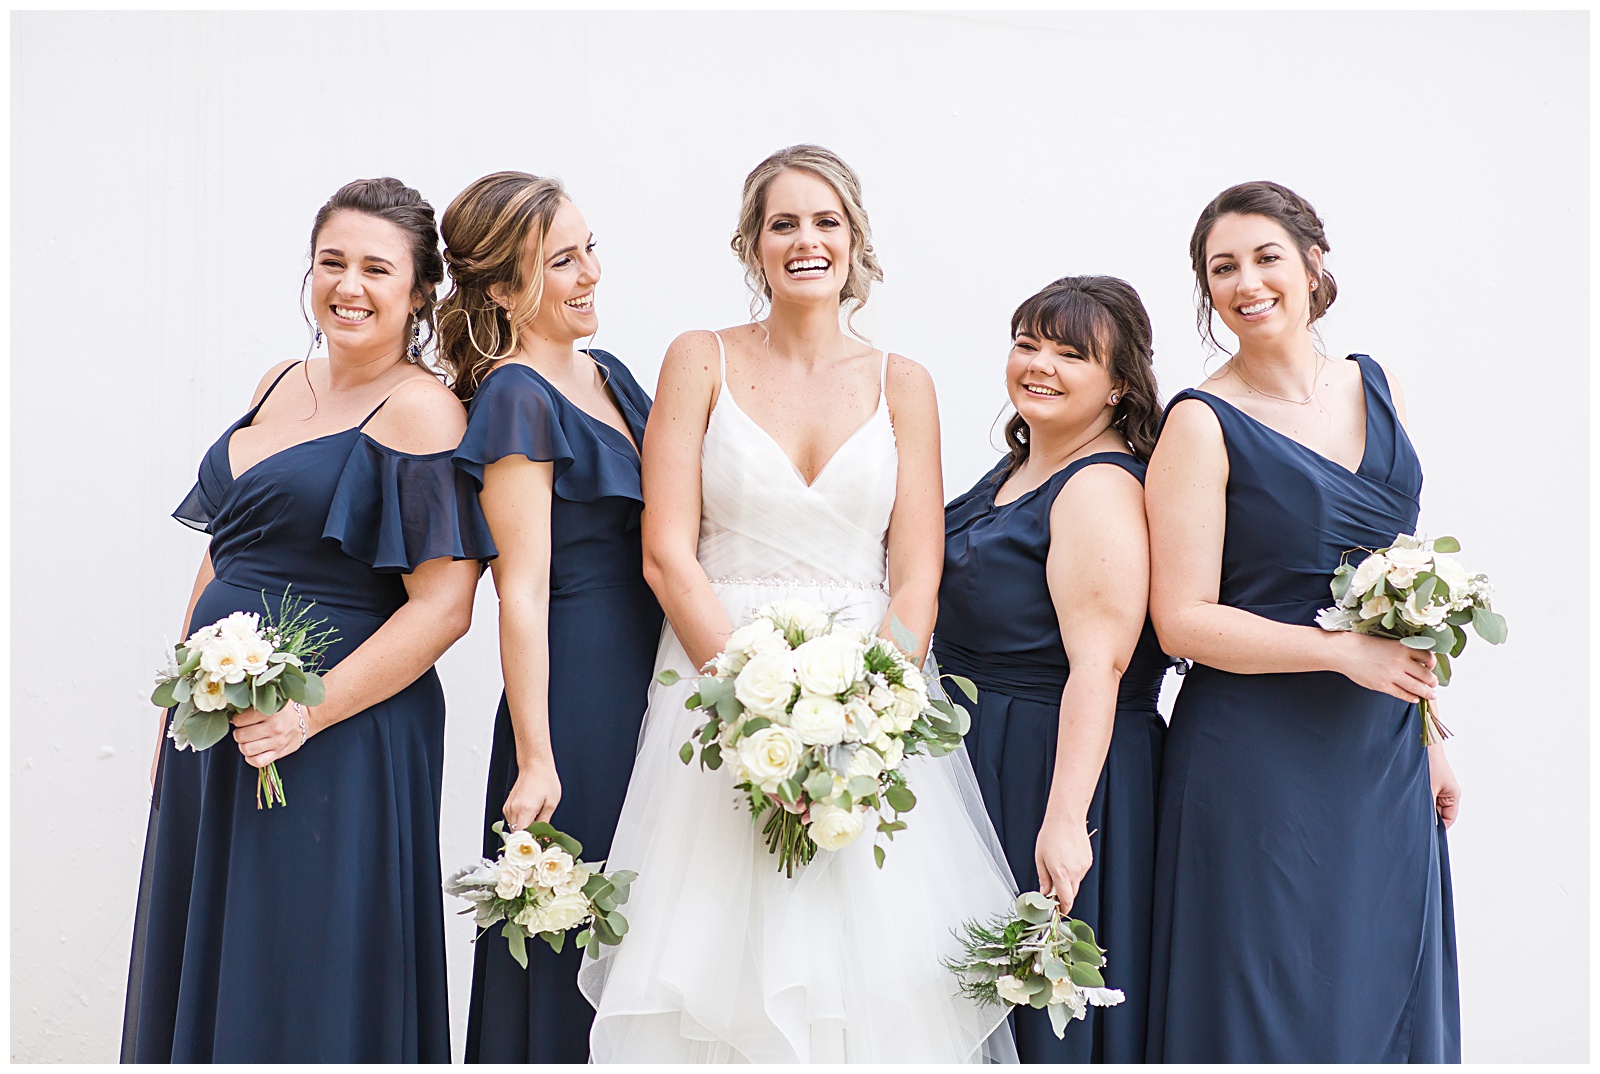
But sometimes you might not want to shoot into a wall when there is some really gorgeous light. Or maybe you’re looking add a little more depth to your images.
So use that aperture to your advantage!
Even when there isn’t super glowy light, we love to have our couples walk down alleyways or to take photos of them in that direction. By having out couple standing off of a wall, it allows for them to really pop with our aperture, and also often allows for us to get some gorgeous backlighting when the sun is just right in the sky.
We use this trick all day long!
Here is an example of a photo taken down an alley midday at Breanna and Shay’s engagement session.
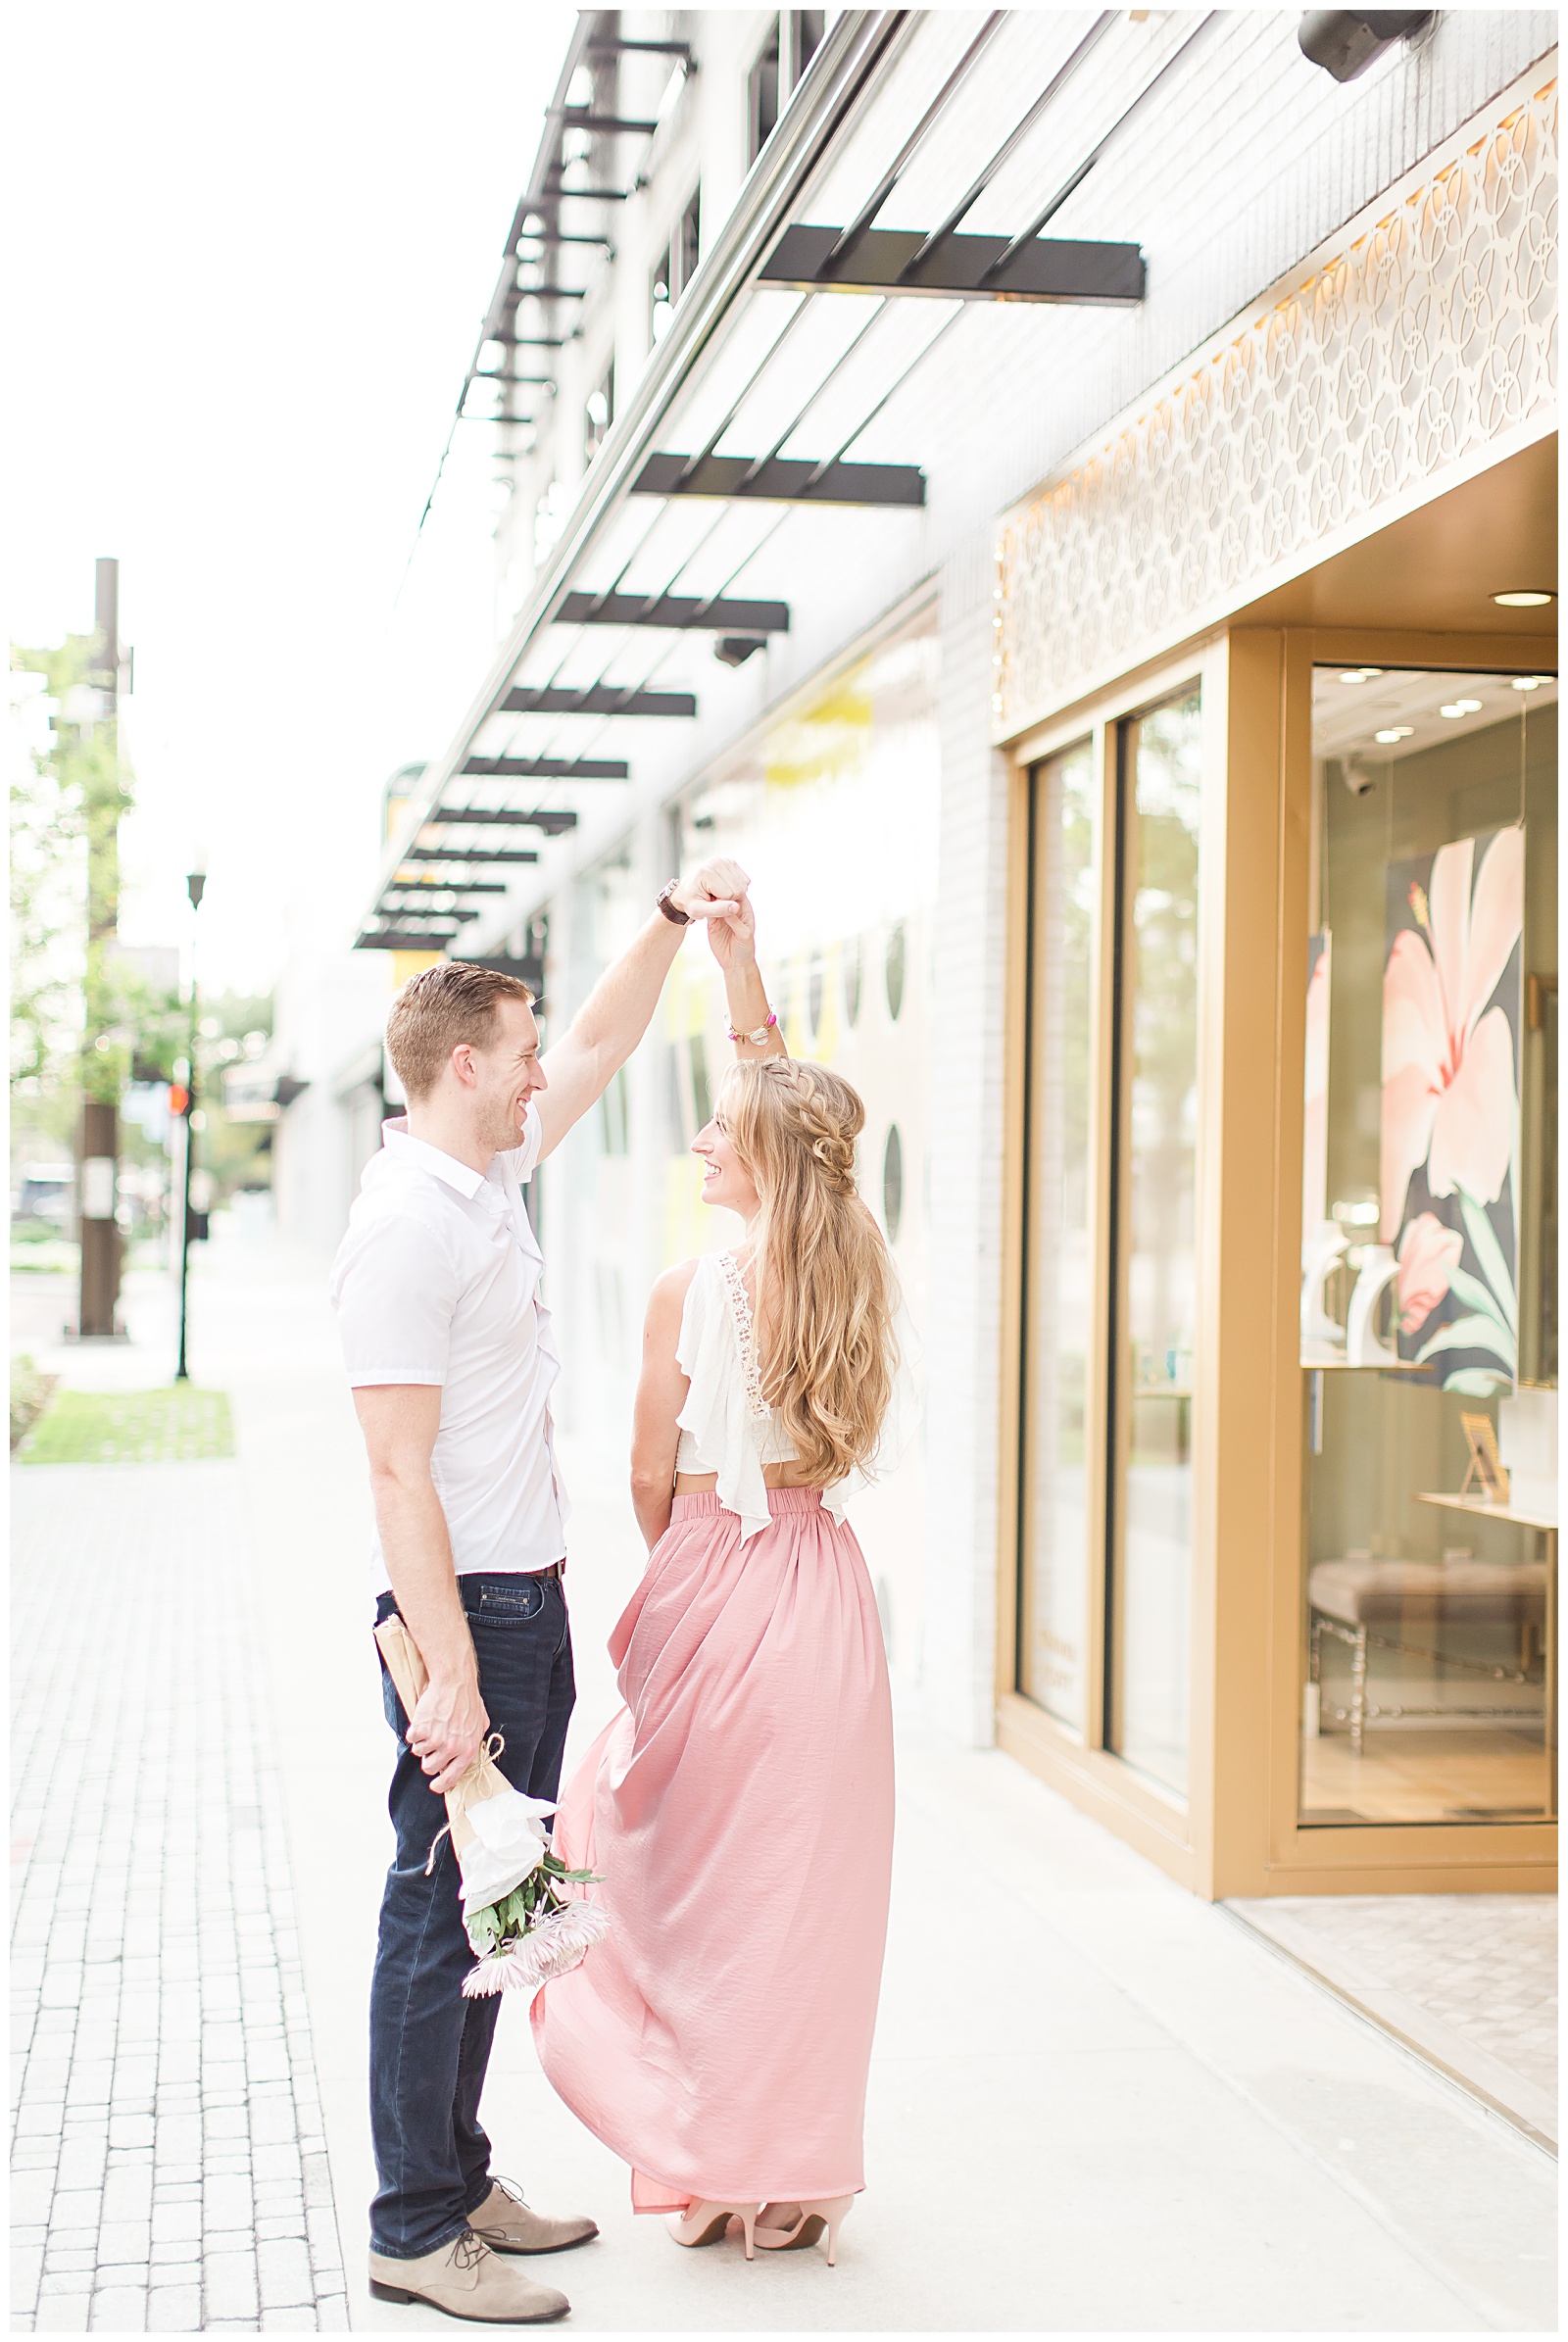
Even when the full background might not be the most ideal, using a great lens like the 50 mm 1.2, or the new 85 mm 1.4 will help you to get beautifully crisp images while also maintaining bright and airy images.
If we had one major takeaway that we could give to anyone reading this, it is that bright and airy images don’t come from over exposing images.
They truly come from intentional decision making while shooting.
We hope that these tips serve you, your business, and your clients well! If they do, leave a comment below! We would love to hear from you!
Looking for more tips like this one? Sign up for our free #CooneyClassroom e-mail list to stay in the know about all of our free educational resources as they are released!
Or feel free to check out our other Education Content!
Hugs and lots of love,
Shauna and Jordon


How to Photograph Light and Airy
VIEW THE COMMENTS